
Lately users have started using pfSense to use as a firewall for their home connections. When I set this up one of the issues I had was with configuring the dynamic DNS settings. Previously I used NO-IP.com for this but then I decided to use one of my custom domains registered at Google Domains to configure this piece.
Here’s what I did to get this setup:
Part I: On Google Domains
-Go to the configure DNS section
-Scroll down to the section for Synthetic Records
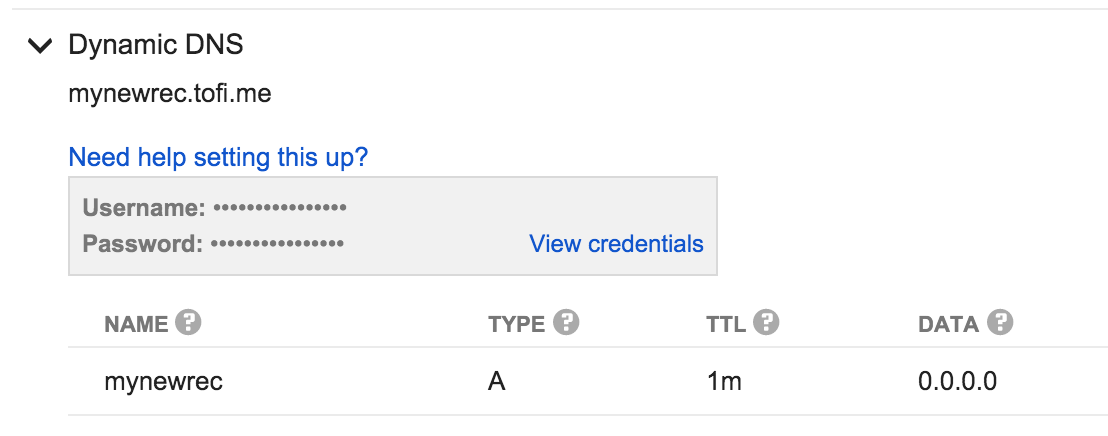
-Make sure “Dynamic DNS” is selected as the record type
-Type in a new name for your record (which gets appended to your domain). E.g. MyNewRec.tofi.me

-Click on Add and it creates the name space for the record
-Expand the Dynamic DNS section and click on click on “View Credentials”
-Mark down the Username and Password that’s listed there and we’re done with Google Domains site
Part II: pfSense Configuration
-Login to your pfSense firewall
-Click on Services \ Dynamic DNS
-in the DynDNS tab click the + sign
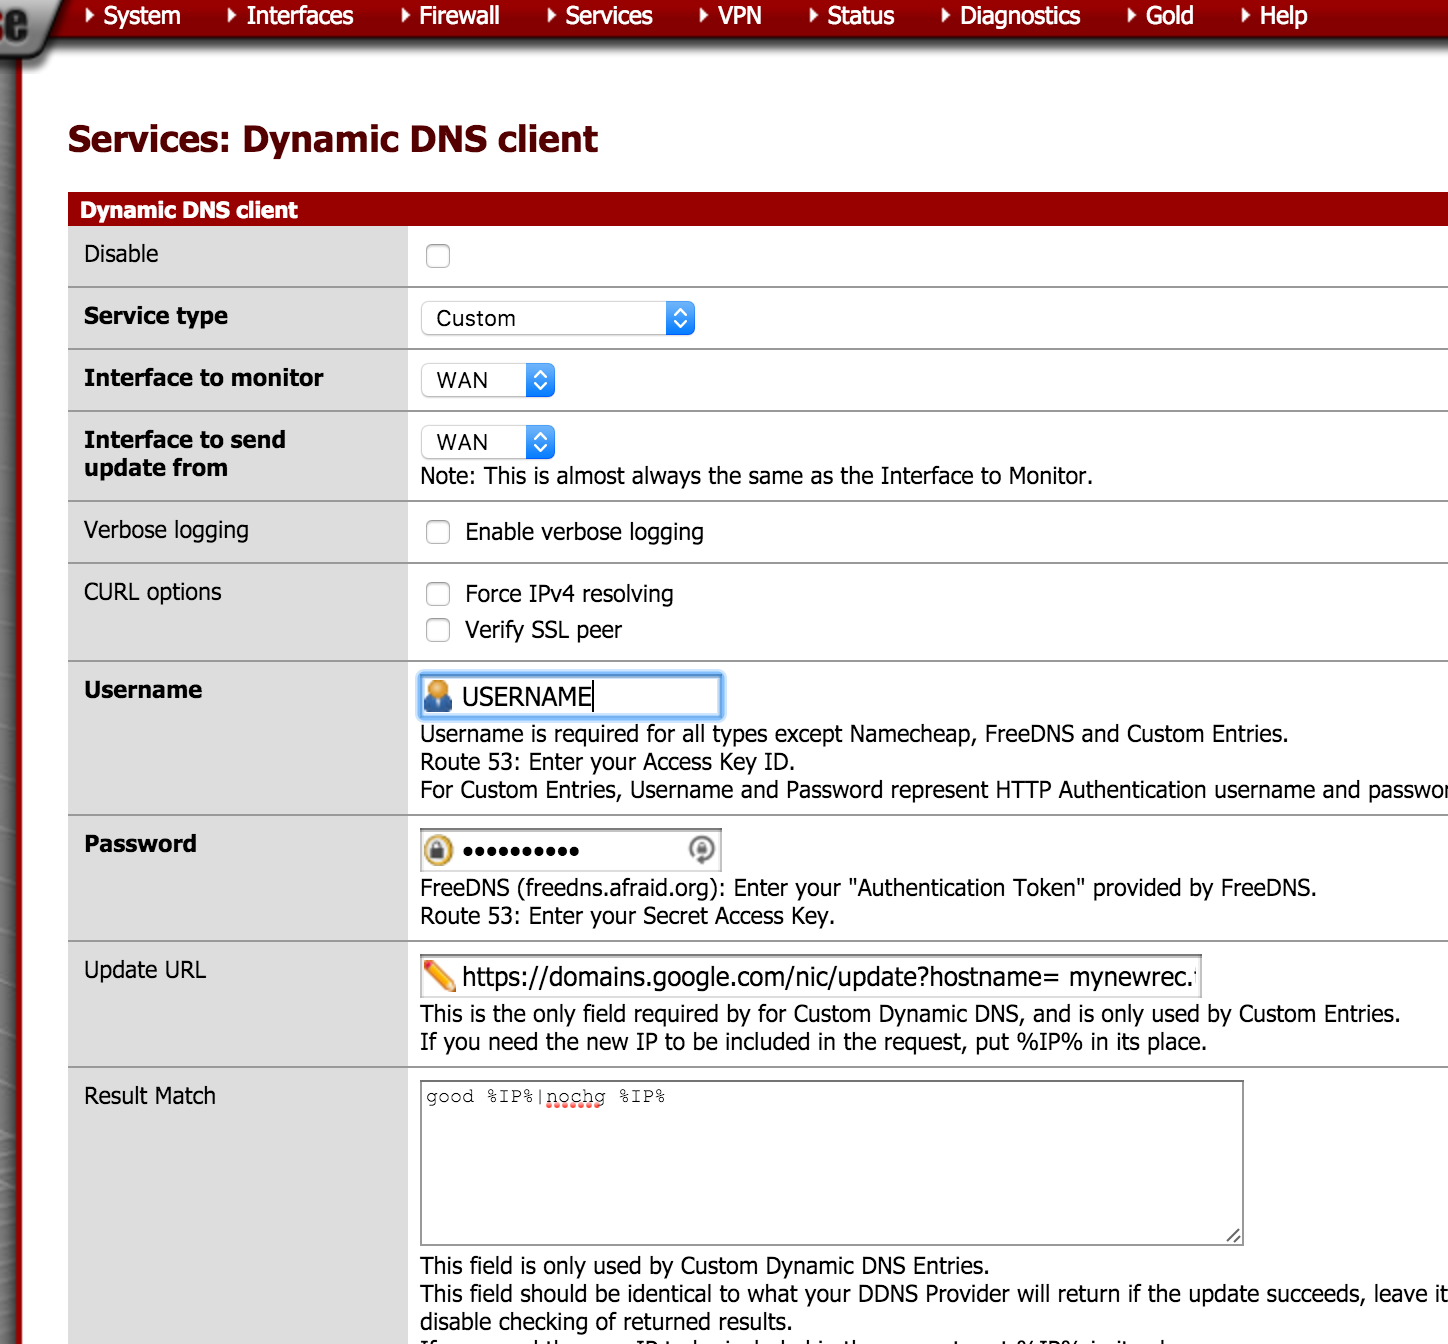
-Service type = Custom
-Interface to monitor = WAN
-Interface to send update from = WAN
-Username = USERNAME (From Part I)
-Password = PASSWORD (From Part I)
-Update URL: https://domains.google.com/nic/update?hostname=MyNewRec.tofi.me
-Result Match: good %IP%|nochg %IP%
-Description: GoogDynDNS
-Click on Save
Once the settings are saved you are done. Now if you check on the Google Domains section for Dynamic DNS, and expand your Dynamic DNS you created in Part I you would see your IP address listed out.